How to Propagate Pothos Cuttings in Water or Potting Mix
Pothos is an inviting first propagation project because the stems reveal much of what you need to know. Each leaf joins a vine at a node, and a cutting containing a healthy node can produce new roots when placed in suitable conditions. That does not mean every leaf in a glass of water will grow into a new vine. The node and the living stem tissue are the important parts of this process.
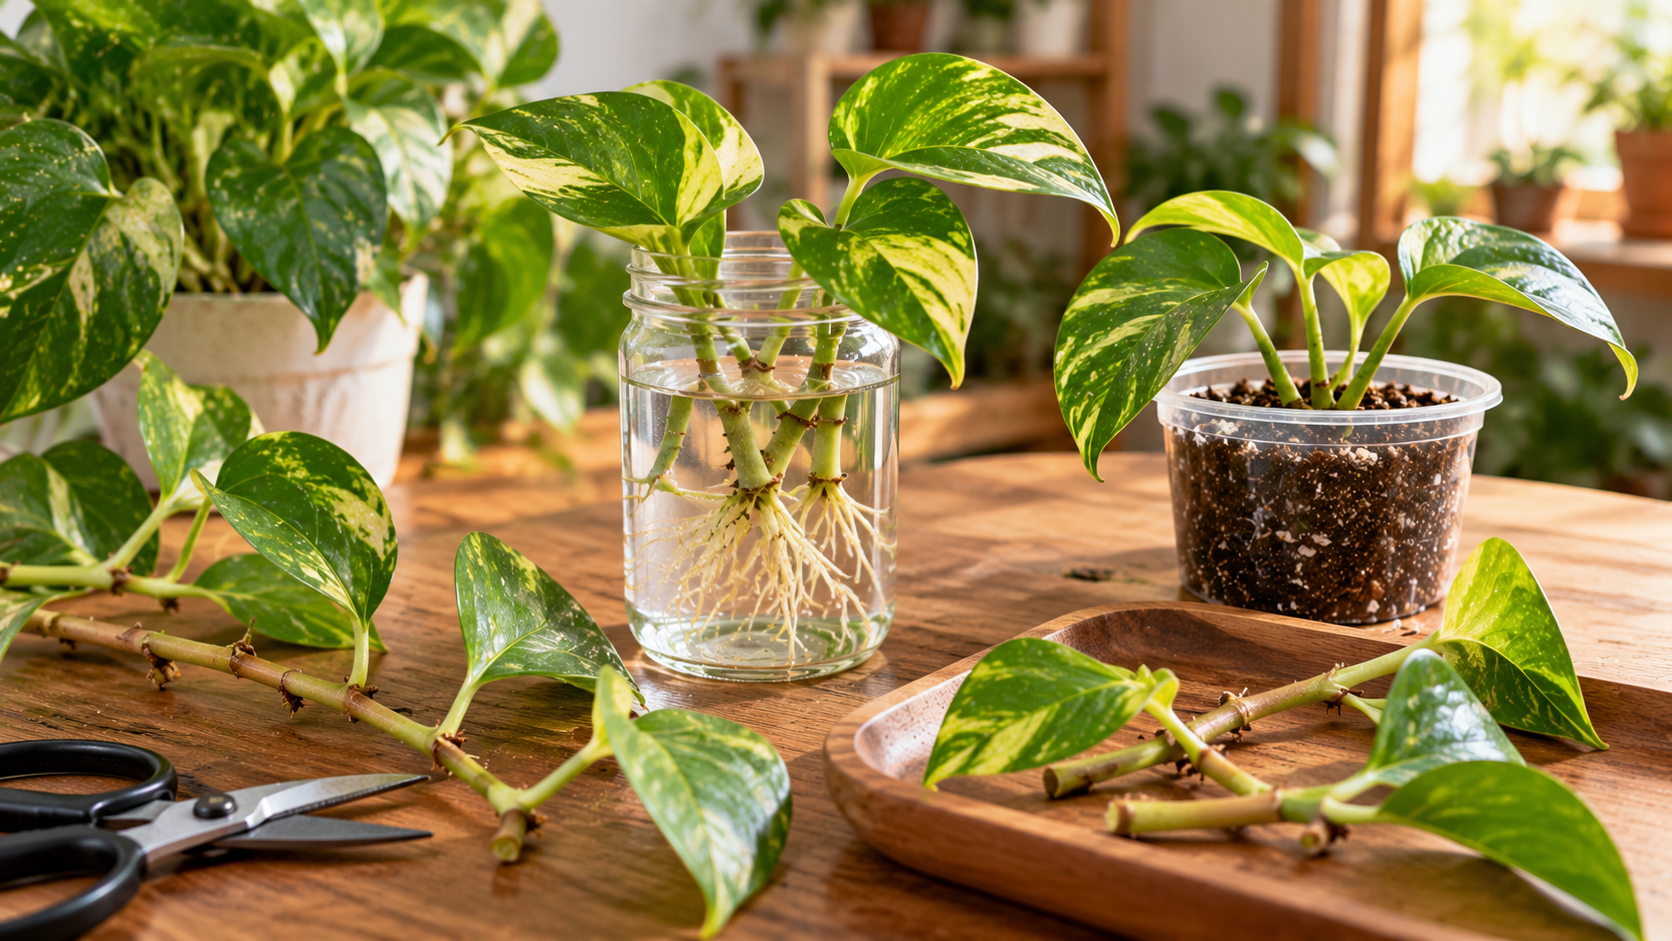
There are two practical approaches for a small collection: root cuttings in water, where developing roots are visible, or place them directly in a light, moist propagation medium. Neither approach is universally superior. The right choice depends on how much attention you can give the cutting, the cleanliness of the setup, and how you plan to establish the new plant afterward.
Find the node before making a cut
Examine a healthy trailing pothos vine. Leaves emerge from points along the stem, and you may see tiny brown aerial root bumps at or near those nodes. Between nodes are stretches of internode. A stem cutting that includes at least one viable node is the normal starting material; a detached leaf with no node cannot be relied upon to produce a complete new pothos plant.
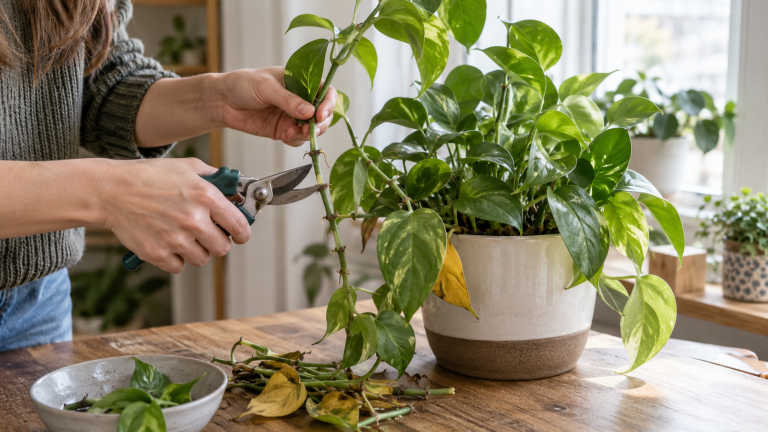
Select an actively growing stem free from obvious pests, rot, or widespread discoloration. If the mother plant is severely stressed, improve its care before removing much of its foliage. Take several modest cuttings rather than stripping one entire vine. The RootLuma pruning guide can help you plan where cuts will leave the parent plant with a balanced shape.
Use clean sharp scissors or pruners to cut the vine just below a node that will be submerged or inserted into medium. A common practical length includes one to three leaves and one or more nodes, but the ideal size depends on stem spacing and the container. Remove any leaf that would sit underwater or be buried: submerged foliage breaks down and can foul a glass or mix. Preserve enough leaf area for photosynthesis without creating a top-heavy cutting that constantly falls over.
What counts as a good cutting?
Look for a stem that feels firm, leaves that are not severely wilted, and at least one intact node. Aerial root nubs are helpful but not strictly necessary. Avoid taking a very long vine with many leaves; large cuttings lose more water before roots support them. Equally, an extremely short piece with damaged tissue has little reserve. A medium-sized segment with a clear node is easier to place and monitor.
Keep different cultivars labeled if you propagate more than one type of pothos. Some highly variegated leaves have less green tissue and may grow more slowly under low light. A beautiful white segment without sufficient green tissue is not necessarily the strongest choice for a beginner’s first cutting. Choose a vigorous part of the vine rather than only the most photogenic leaf.
Rooting in water: a visible, forgiving method
Fill a clean glass or jar with fresh water and position the lower node beneath the surface while keeping the leaves above it. A narrow opening or simple support helps keep the stem upright. Place the container in bright indirect light away from scorching midday sun and cold glass. The cuttings need light, but warming a small jar dramatically can stress developing roots.
Check that the node stays submerged as water evaporates. Replace cloudy or foul-smelling water and rinse the container when needed; there is no need to sterilize a clear, healthy cutting daily. Watch for the emergence of pale roots from the node. Rooting time varies with warmth, light, the condition of the cutting, and season, so avoid promises that a cutting will always root in a precise number of days.
The transparent jar is useful because you can see whether roots are lengthening or tissue is becoming dark and soft. A slimy, collapsing stem is a warning; remove compromised material and start again with healthy tissue and a clean vessel. A brown aerial-root remnant is not automatically rot, especially if it remains firm. Test texture and watch whether the problem is progressing before discarding a viable cutting.
Moving water-rooted cuttings to a pot
Water roots and roots developed in a porous medium experience different conditions. When the cutting has several healthy roots long enough to sit comfortably in a small pot, transfer it to fresh potting mix rather than allowing an enormous root tangle to form in a narrow jar. Avoid a rigid centimeter threshold; the density and vigor of the root system matter more than a universal measurement.
Use a small container with drainage holes. Make a planting hole so the new roots do not have to be bent sharply or compressed into place. Set the rooted node in the mix, firm gently, water to settle the medium, and let excess drain. Keep conditions stable, with bright indirect light and appropriate moisture, while the roots adjust. The cutting may pause before producing new leaves; a brief pause does not mean failure.
Rooting directly in potting mix
Start with a small, clean pot or propagation tray containing a porous medium suitable for the plant. It should hold some moisture but also provide air spaces. Pre-moisten it so the cutting can be inserted without immediately washing away loose material. Insert the node into the medium and keep foliage above the surface. If the cutting wobbles, use a small support instead of burying extra leaves.
Direct rooting eliminates the later shift from water into potting mix, but it is less visually transparent. You cannot inspect developing roots as easily. Resist tugging on the stem every day; doing so can break newly formed roots. Instead, watch whether the cutting remains turgid, whether rot develops at the base, and whether new leaves eventually appear. A very gentle resistance check after sufficient time may offer a clue, but repeated pulling does more harm than good.
Use a bright position without harsh heat. The medium should remain appropriately moist while the unrooted cutting establishes, but not waterlogged. A sealed humidity dome is often unnecessary for ordinary pothos cuttings in a comfortable home; poorly ventilated enclosures can encourage condensation and decay. If ambient air is extremely dry, consider a ventilated cover only when you can monitor it carefully.
Compare the two approaches honestly
Decision Water rooting Potting-mix rooting
Visibility Roots are easy to observe Root progress is mostly indirect
Moisture management Maintain clean water around the node Keep medium moist but aerated
Main risk Stagnant water and softening submerged tissue Saturation, drying out, or unnecessary tugging
Next step Transfer into a draining pot Gradually establish ordinary watering in the same pot
Best for Beginners who enjoy watching roots Gardeners who want to avoid a later transplant
Neither method excuses poor source material. Healthy nodes, clean tools, appropriate light, and moderate temperatures are central in both. A cutting that rots in a jar will not necessarily thrive if plunged into soggy soil, and a cutting that desiccates in soil may need a different moisture approach rather than more fertilizer.
Build a fuller plant without overcrowding it
A single cutting can grow into a long vine, but a pot with several established cuttings often looks fuller sooner. The temptation is to cram too many into one small container. Think about future root space and access for watering. Position cuttings so each node is in contact with the medium and the leaves are not densely buried against each other.
If you are combining water-rooted and soil-rooted cuttings, consider their differences in establishment. Newly transferred water roots may need closer attention than cuttings that have already grown roots in the final medium. Do not keep the whole pot permanently saturated to accommodate the slowest individual cutting. If one stem fails while others grow well, remove the decayed piece and preserve the healthy group.
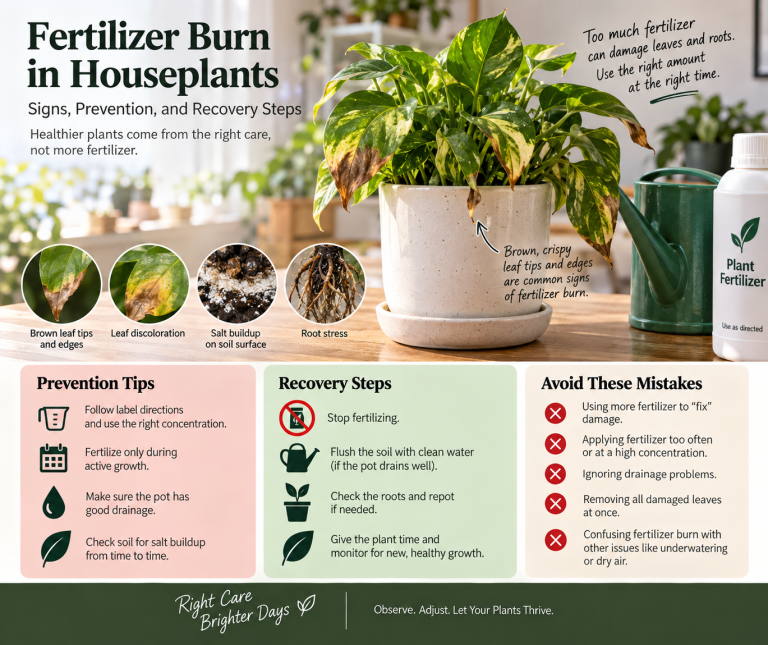
Wait for roots and active growth before fertilizing heavily. Fresh propagation media may already contain some nutrients, and fertilizer does not create roots from a dead node. Once the plant is established, use a modest routine appropriate to your mix and growing conditions rather than treating propagation as an excuse for extra feeding.
Troubleshoot the three most common failures
Leaves stay green, but no new root appears. Check that the cutting actually contains a node in water or medium. Verify adequate warmth and light without overheating. Some cuttings take longer, particularly in cooler seasons. If the stem is firm and healthy, patience may be more useful than another cut.
The base becomes black and mushy. Soft decay may be occurring. Remove the affected cutting from other propagations, sanitize the container, and start over from healthy firm tissue with a viable node. Shortening a rotten stem is useful only if enough healthy tissue remains to support a new cutting.
New growth wilts after potting. Roots may be adjusting or damaged. Check moisture below the surface rather than watering reflexively, ensure the pot drains, and reduce harsh heat while maintaining adequate indirect light. Do not repeatedly unpot to inspect roots. The RootLuma guide to repotting without unnecessary stress is a useful reference when moving a newly rooted cutting into its first long-term container.
A simple first-month observation log
On the day you take cuttings, record the number of nodes, the method, and where the container sits. During subsequent checks, note whether the water remains clear or the mix maintains even moisture, whether roots appear, and whether any leaves become limp. When a cutting is potted, record that date rather than counting all growth from the original cutting day. This helps you distinguish rooting time from transplant adjustment.
A short photo sequence is more useful than a rigid expectation: one image at cutting, one when roots appear, and one after the first new leaf. If three cuttings grow at different speeds, compare their nodes, foliage, and placement before assuming one method failed. Small differences in the original stem can have surprisingly visible effects on early growth.
How to tell whether a cutting is ready to share
A newly rooted cutting is not always a self-sustaining gift plant. If you have only one fragile root, the stem may still depend on unusually careful conditions. A better gift is a cutting that has established several functioning roots, has been transferred into suitable medium when needed, and has remained stable after the transfer. Write the cultivar name and rooting date on a simple label and tell the recipient whether the plant has been growing in water or mix.
Do not hide a failing cutting among healthy ones to make a gift pot look full. Remove soft stems before planting the group, and inspect leaves for mealybugs or mites. If there is uncertainty about pest history, keep the new propagation separate until you have observed clean growth. Healthy propagation material is part of responsible sharing.
A transparent glass of pothos roots is also an educational display, but continued growth in water requires different long-term care from a conventional potted plant. Explain that distinction if someone plans to leave the cutting permanently in a jar. Root visibility is enjoyable; it is not proof that the root system will thrive without suitable nutrients, cleanliness, and changing conditions.
Frequently asked questions
Can I root a pothos leaf without a node? A leaf may remain attractive in water for a while, but reliable propagation of a complete vine requires stem tissue with a viable node.
Must I use rooting hormone? No. Pothos commonly roots without it, and unnecessary products add cost and complication.
Does a cutting need direct sun? Bright indirect light is generally a safer starting point. Strong direct sun can overheat a small glass and stress unrooted foliage.
How many cuttings should go in one pot? Enough to create the appearance you want while allowing root development and access to the medium. Container size and cutting vigor determine a sensible number.
Should I prune the parent first or propagate first? Plan both together. A healthy vine can often be trimmed at useful nodes, allowing the cut pieces to become new plants.
Grow the roots, then the habit
The satisfying part of pothos propagation is seeing a small piece of stem become an independent plant. The dependable part is less dramatic: choose a healthy node, keep the rooting environment clean and suitable, and make the transfer into an ordinary pot thoughtfully. Whether roots begin in water or mix, your final goal is the same—a vigorous plant that can sustain new leaves under normal household care.
References
Iowa State University Extension — How propagate houseplants stem tip cuttings
University of Maryland Extension — Growing media potting soil containers