Mealybugs on Houseplants: Spot Them Early and Remove Them Safely
The first sign of mealybugs is often a patch of white fluff tucked where a leaf joins a stem. It resembles lint or a harmless bit of dust, so it is easy to overlook. A week later the same plant may have several cottony clusters, sticky leaves, and yellowing new growth. Unlike dust, mealybugs are living sap-feeding insects that can hide in narrow joints and multiply while you are busy looking at more obvious leaf surfaces.
An effective response depends on knowing what you found, how far the infestation extends, and whether the plant is strong enough to tolerate treatment. For a few visible insects, patient physical removal may be reasonable. For severe or recurring populations, indoor-labeled controls and repeated checks may be needed. You do not need to throw every product in the cleaning cupboard at the leaves.
Confirm the white material is a pest
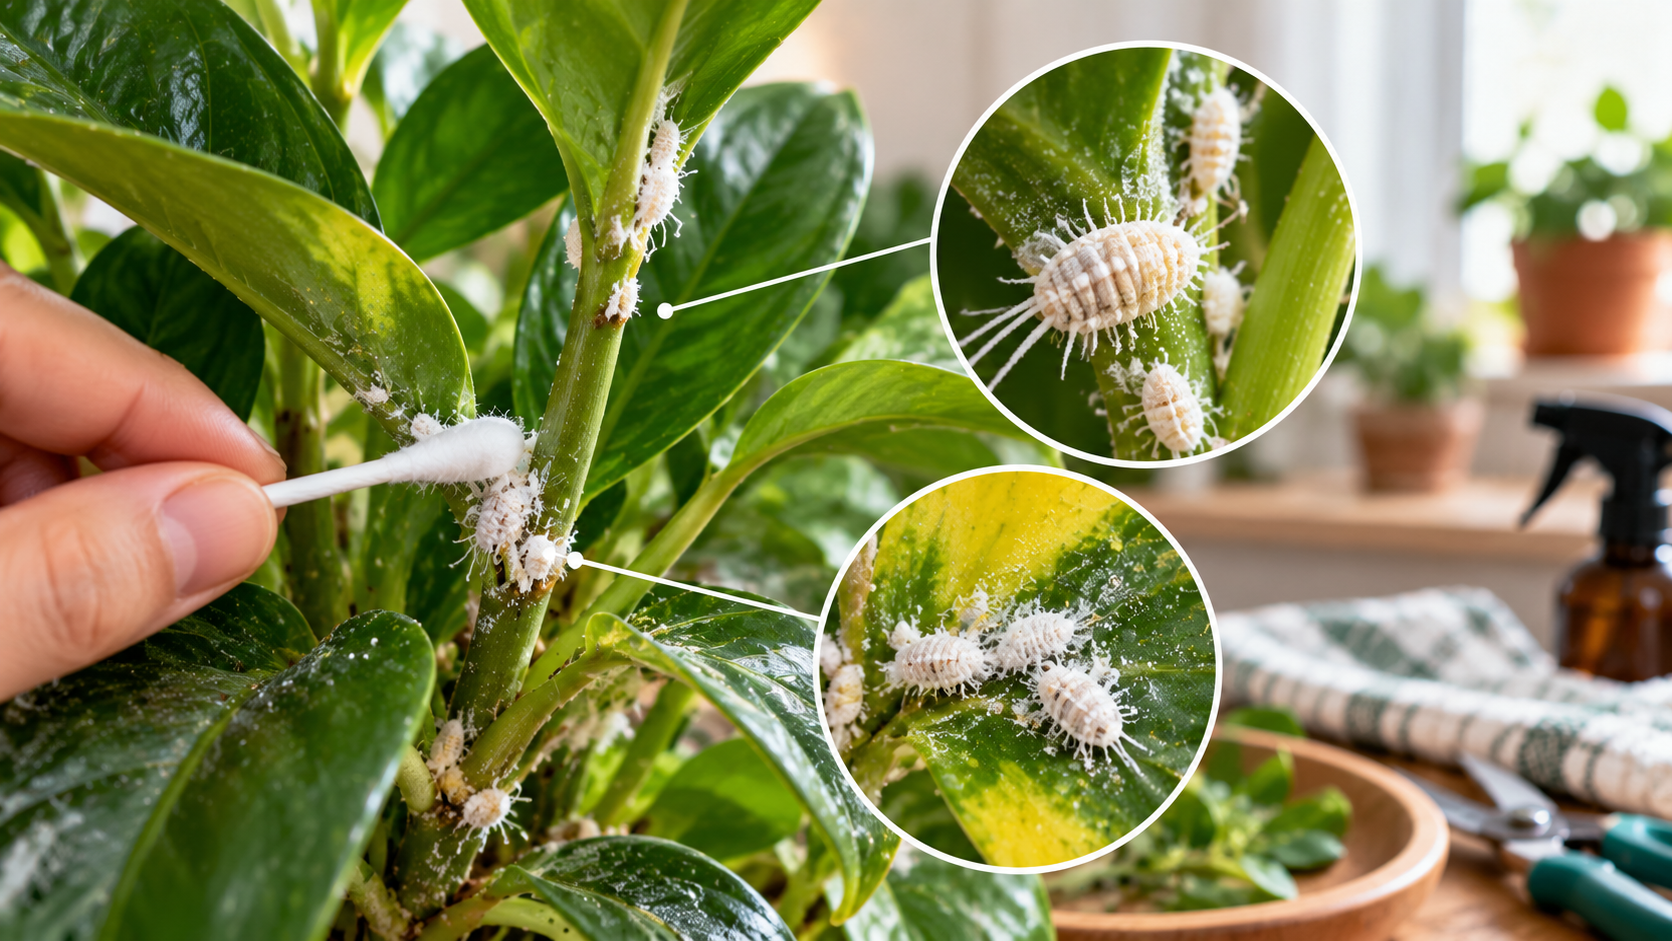
Adult female mealybugs typically look oval and pale under a powdery, waxy coating, sometimes with conspicuous white filaments around the body. They often sit still or crawl slowly. University of Maryland Extension notes that white cottony wax may be the first clue, and that insects may be on leaves, stems, flowers, or even the outside of a pot. Use a magnifying glass or a phone photograph enlarged on-screen rather than relying on a quick glance from standing height.
Look for the insect body beneath the wax. Dust and mineral deposits are usually spread differently and do not reveal a cluster of soft-bodied insects when examined closely. Natural leaf hairs may appear pale but should be consistent with the plant’s structure. Fungal growth on potting mix is a separate problem; it generally does not create individual insects at stem joints.
Mealybugs remove plant sap and can cause reduced vigor, distorted or yellowing growth, and, in serious cases, dieback. Many species excrete sugary honeydew, leaving a sticky film that may support black sooty mold. These clues are useful together, but sticky leaves alone do not identify mealybugs; soft scale and some other sap feeders may produce honeydew too.
Inspect the places you normally miss
Start at the newest leaves, where tight folds conceal insects. Check the junction between each leaf petiole and the stem, the underside of broad leaves, branching points, developing flowers, and the rim of the container. Turn the pot slowly; an infestation concentrated on the wall-facing side can remain invisible in ordinary room lighting. If you have a plant with overlapping leaves or rosettes, inspect without forcibly pulling healthy growth apart.
Note how many separate colonies you see rather than counting only individual white specks. An isolated colony at a stem joint may be accessible with a swab. Insects scattered through dozens of leaves, crown tissue, and roots demand a different decision. Root mealybugs may produce waxy deposits near the medium or inside the pot, although other whitish residues can have different explanations. Investigate roots only when recurring infestation and other signs justify disturbing the plant.
Photograph the same two or three plant areas before and after a response. This creates a useful comparison when wax persists after insects die or when new insects appear in places that looked clean. A five-minute inspection performed consistently is often more valuable than an elaborate one-off treatment.
Prevent spread while you evaluate the damage
Separate an affected plant from the main collection if practical, but choose a position with adequate light and safe temperature. Mealybugs can move between touching leaves and may travel on tools, plant material, or hands. Do not place removed leaves or contaminated prunings on the same bench where clean pots are prepared. Empty a debris tray and clean tools before moving on to another plant.
Isolation is a management step, not a cure. The insect population remains on the original plant until it is removed or controlled. The RootLuma guide to quarantining new houseplants provides a useful system for inspecting plants over time; the same discipline helps when a pest is already present.
Evaluate the plant itself. Healthy new shoots, firm stems, and a modest population favor a salvage attempt. A plant with widespread infestations, severely weakened tissue, and hidden colonies that repeatedly rebound may be impractical to save, especially when common inexpensive specimens sit close to valuable plants. Discarding one heavily infested plant can sometimes protect the collection, but it is not automatically necessary for a small localized problem.
Start with proportionate physical removal
For a light infestation, use a damp soft cloth or cotton swab to lift visible insects gently from accessible stems and leaves. A cotton swab with rubbing alcohol can be applied to individual mealybugs, an approach mentioned by Maryland Extension, but avoid spreading alcohol onto the surrounding leaf surface: some plants are sensitive and may suffer burns. Spot-test and do not assume a concentration or application method is safe for every species.
Work in good light. Support delicate stems rather than scraping forcefully. If a colony is under a leaf sheath, gently expose only what can be accessed without tearing healthy tissue. Remove an expendable, heavily infested flower stalk when this helps eliminate a concentrated source. Clean up dislodged insects and plant debris instead of allowing material to fall into neighboring pots.
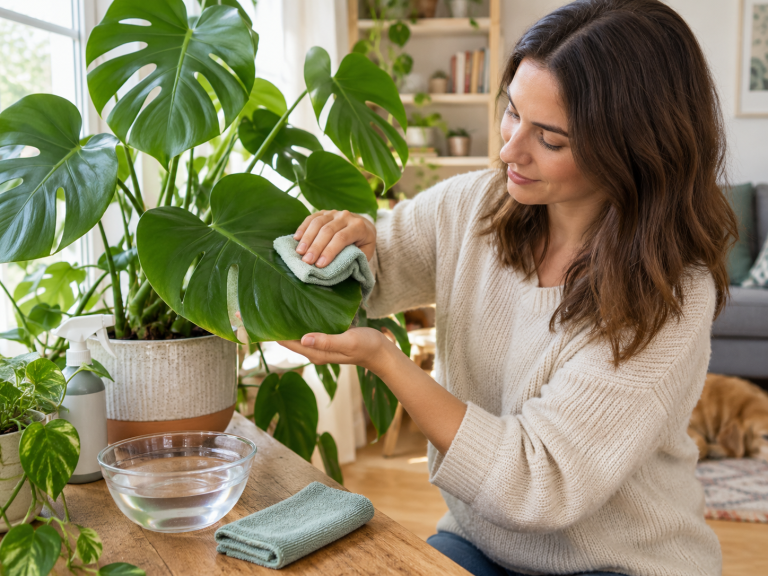
A gentle stream of water may dislodge some insects on robust foliage, provided the plant and growing medium can drain and the method does not spread insects elsewhere indoors. Avoid pressure that tears leaves or keeps a damp-sensitive crown saturated. For fuzzy-leaved or delicate plants, manual inspection and careful removal may be safer than washing.
Cleaning alone is not a reliable complete response when insects shelter in inaccessible tissues or eggs and juveniles remain. If the population is larger than can be removed reasonably, compare products registered for indoor ornamental plants and the target pest. Insecticidal soap or other labeled houseplant products may be useful when directions are followed, but adequate coverage and repeat applications are often necessary. Never substitute a dishwashing-liquid recipe for a product with a tested, specific label.
Understand why one treatment is rarely the finish line
Mealybug populations may include adults, mobile young insects, and protected life stages at the same time. Waxy coatings and hidden feeding sites complicate coverage. Even when visible adults disappear after a careful session, small juveniles may remain in folds or under sheaths. That is why follow-up observation matters more than declaring success after a spotless photograph.
Make a short check routine that fits the plant. Reinspect the same stem joints and leaf undersides every few days at first. If you used a product, respect its labeled reapplication interval rather than creating your own schedule. Watch for new cottony clusters, fresh sticky deposits, and insects appearing on previously clean growth. Remove a small recurrence promptly instead of allowing a large colony to form.
Do not interpret every old yellow leaf as ongoing pest damage. The leaf may never recover its color. More informative evidence is whether new growth remains free of insects, honeydew stops accumulating, and previously clean areas remain clean. The RootLuma article on cleaning houseplant leaves is a useful companion for distinguishing safe routine surface cleaning from pest-specific treatment.
A simple seven-check record
Check What to inspect What to record
Initial inspection Axils, stems, undersides, buds Colony locations and photos
After careful removal Previously infested joints Remaining live insects and plant damage
Next check Same locations plus one clean branch Whether colonies have reappeared
Midweek Neighboring plants and shared shelf Signs of spread beyond the original pot
After labeled follow-up, if needed Protected folds and newest growth Fresh insects versus residual wax
Following week Leaf surfaces and stems New honeydew or sooty deposits
Final comparison Whole plant including new growth Improving, stable, or escalating infestation
The timing of pesticide use must follow its label; this checklist is for observation only. For a valuable slow-growing plant, extend monitoring well beyond one apparently clean week. A recurrence detected early is much easier to manage than one discovered after the pot is returned to a dense group.
Troubleshooting difficult cases
Cottony material returns but no insects are visible. Old wax and shed material can remain after removal. Inspect closely for living bodies rather than applying another treatment simply because the surface is not perfectly clean. A photograph taken from the same angle can help distinguish residue from a growing colony.
A sticky leaf remains sticky after insects disappear. Honeydew may persist until it is gently washed off. Remove residue with a plant-appropriate method, then watch for new stickiness. Fresh deposits can suggest insects are still feeding somewhere, including another sap-feeding pest.
One leaf is severely damaged, while others look healthy. Avoid stripping large amounts of foliage to improve appearance. Remove only tissue that is dead, structurally compromised, or heavily infested and practical to sacrifice. Preserve photosynthetic leaf area on a recovering plant.
A plant keeps getting reinfested after being returned to the shelf. Inspect neighbors, especially where leaves touch. Recheck the original plant’s folds and pot rim. Keeping a precise map of problem locations can reveal whether you are dealing with survival of hidden insects or introduction from another source.
Products cause spotting or browning. Stop improvising additional applications. Review the product label for plant sensitivity, light restrictions, and appropriate conditions; some plants may react to soaps or oils. If damage spreads and the diagnosis remains uncertain, seek guidance from a local horticultural extension service.
Prevention is primarily about early visibility
It is unrealistic to promise that mealybugs will never enter a home. A better prevention plan limits how far they spread and how long they remain unnoticed. Inspect new plants before they join the collection, check crowded leaf joints during ordinary watering, and leave enough space between pots to turn each one without damaging foliage. Clean cutting tools after use, especially when propagating a plant that recently had pests.
Avoid excessive nitrogen feeding intended to force a stressed plant into rapid growth. Fertilizer will not kill insects, and unusually soft vigorous growth can complicate pest management in some settings. Give the plant conditions appropriate to its species while it recovers. If you are unsure whether growth decline comes from pests or root stress, inspect both rather than assuming one factor explains everything.
There is also no need to coat every healthy leaf with oil as a preventive ritual. Unnecessary sprays increase labor and may create phytotoxicity or indoor exposure concerns. Make inspection a habit; reserve interventions for a confirmed problem and use registered products correctly when needed.
Before returning the plant to its usual shelf
Inspect any stems that previously rested against neighboring foliage. Mealybugs can be carried along with moved plant material, so the success of cleaning one pot should be judged together with the condition of its nearest neighbors. Check the tray and pot rim for cottony material, then make a final close-up photograph of the previously infested axils. Returning the plant after a reassuring period of checks is sensible; treating a single clean day as definitive is not. Keep checking during ordinary watering even after the initial problem appears resolved.
Frequently asked questions
Are mealybugs the same as white mold? No. Mealybugs are insects with individual bodies, often protected by wax. Mold is fungal growth and requires a different investigation.
Can they hide in roots? Some mealybugs feed below the surface. Consider that possibility when above-ground cleaning repeatedly fails and the plant shows unexplained decline, but do not dismantle every root ball preemptively.
Will a single alcohol wipe eliminate them? It can remove isolated exposed insects; it cannot guarantee control of eggs, juveniles, or insects hidden in tight plant tissue. Use alcohol cautiously because leaf injury is possible.
When should I give up on a plant? When it is severely debilitated, repeatedly infested in inaccessible places, or creates unacceptable risk for the rest of the collection, disposal may be a reasonable choice. The decision depends on the plant’s value and recovery prospects.
The main principle
Mealybug management is a series of informed checks, not a dramatic rescue operation. Confirm the pest, map where colonies occur, isolate the plant, remove light infestations carefully, and revisit the same sites often enough to detect any rebound. Use indoor-labeled treatments when justified, and keep the plant’s normal growing needs in view. A healthy plant with a few hidden insects is a manageable problem; the same insects left unnoticed across an entire shelf become a much larger one.
References
University of Maryland Extension — Mealybugs indoor plants
University of Minnesota Extension — Insects on indoor plants